Adding New Compensation & Employment Type Record
When a new employment record is created, an Employee Compensation & Employment Type record is also automatically generated with a User Action set to Add and an Employment Type of No Compensation, indicating that the user needs to input compensation and employment details by clicking the Add button in the User Action column.

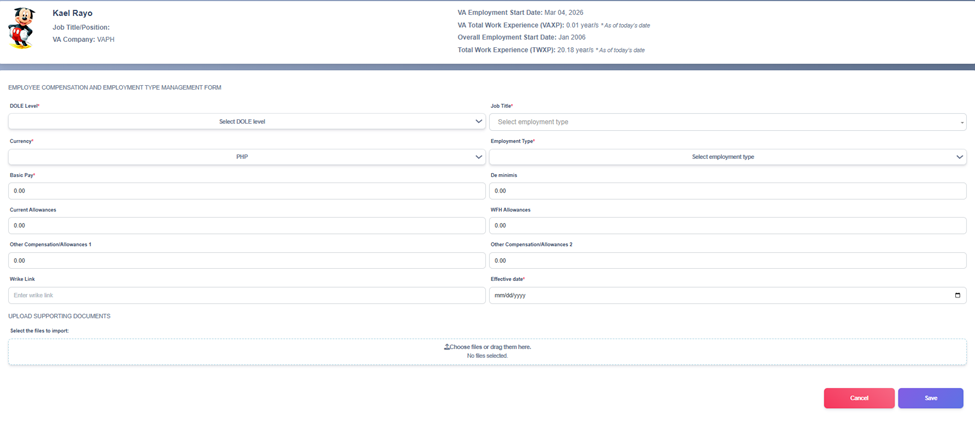
1) Open the Employee Compensation and Employment Type Management Form
- From the Employee Compensation & Employment Type Management Main View, click the Add button under the User Action column of the record you want to add information.
2) Complete all required fields (and optional fields as needed).
- DOLE Level* (dropdown) — Select the appropriate DOLE level classification.
- Job Title* (dropdown) — Choose the employee’s current role.
- Employment Type* (dropdown) — Select the correct employment type (e.g., Regular, Project, Probationary).
- Currency* — Confirm the preset currency (default: PHP).
- Basic Pay* — Enter the employee’s monthly base salary.
- De minimis — Input non‑taxable benefits (e.g., rice subsidy, uniform allowance).
- Current Allowances — Enter standard allowances such as transportation or meal.
- WFH Allowances — Input allowances related to work‑from‑home arrangements.
- Other Compensation/Allowances 1 — Add any additional allowances.
- Other Compensation/Allowances 2 — Enter other compensation not covered above.
- Wrike Link — Paste the Wrike task or project link associated with this record.
- Effective Date* (date picker) — Choose the date when the compensation details take effect.
- Upload Supporting Documents — Attach relevant files by clicking Choose files or dragging them into the upload area.
- When all required fields are filled, click Save (bottom right) to create the employee compensation record. Use Cancel if you do not want to save changes.
3) After saving
- The system should confirm successful.
- Newly added records should appear in the Employee Compensation & Employment Type Management Main View, with the Employment Type updated to the actual data and the User Action column updated to display the Edit and View buttons.
Editing Compensation & Employment Type Record
1) Go to the Employee Compensation & Employment Type Management Main View and find the record you want to update.
2) Click the Edit button beside the employment record.

3) The Edit Employee Compensation and Employment Type Management Form will appear, which is basically the same as the Add Employee Compensation and Employment Type Management Form. From here, you can make the updates you need.
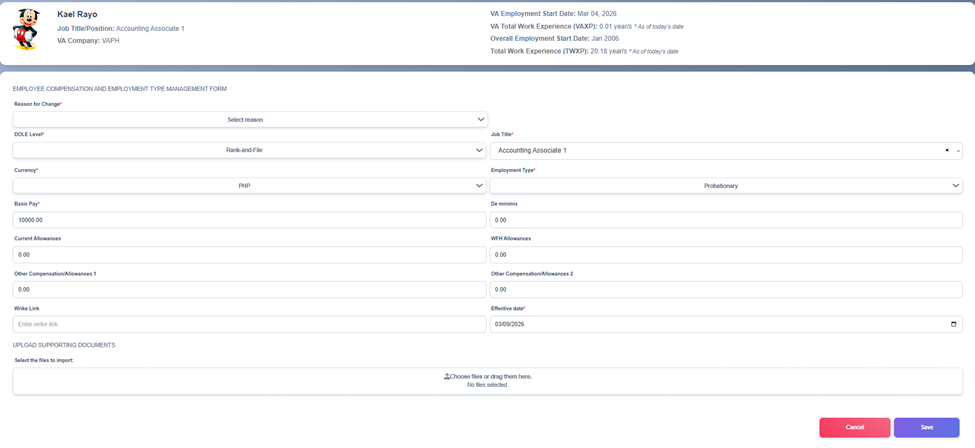
4) Select the appropriate reason from the Reason for Change dropdown to explain why the update is being made.
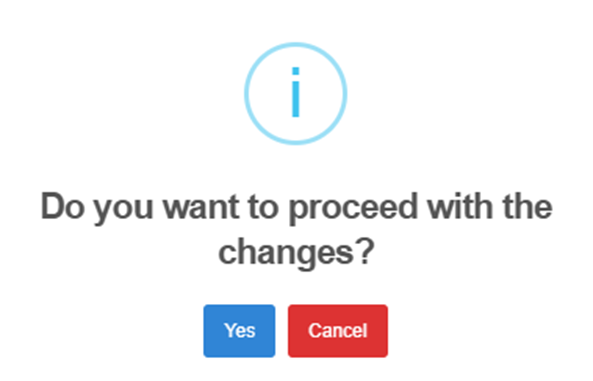
5) After editing the employee employment records, the system will ask for confirmation: Do you want to proceed with the changes?
6) Select Yes to save the updates or Cancel if you decide not to apply the changes.
7) A dialog box will appear asking you to “Enter Remarks”
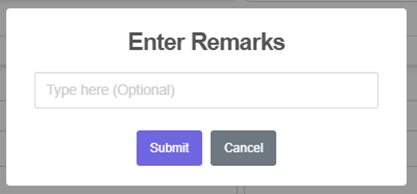
8) Type in remarks on why you are editing the record and click Submit to continue.